Contextual consent
What is contextual consent?
There are several ways to ask your users for their consent. Two of them are contextual consent and a consent banner.
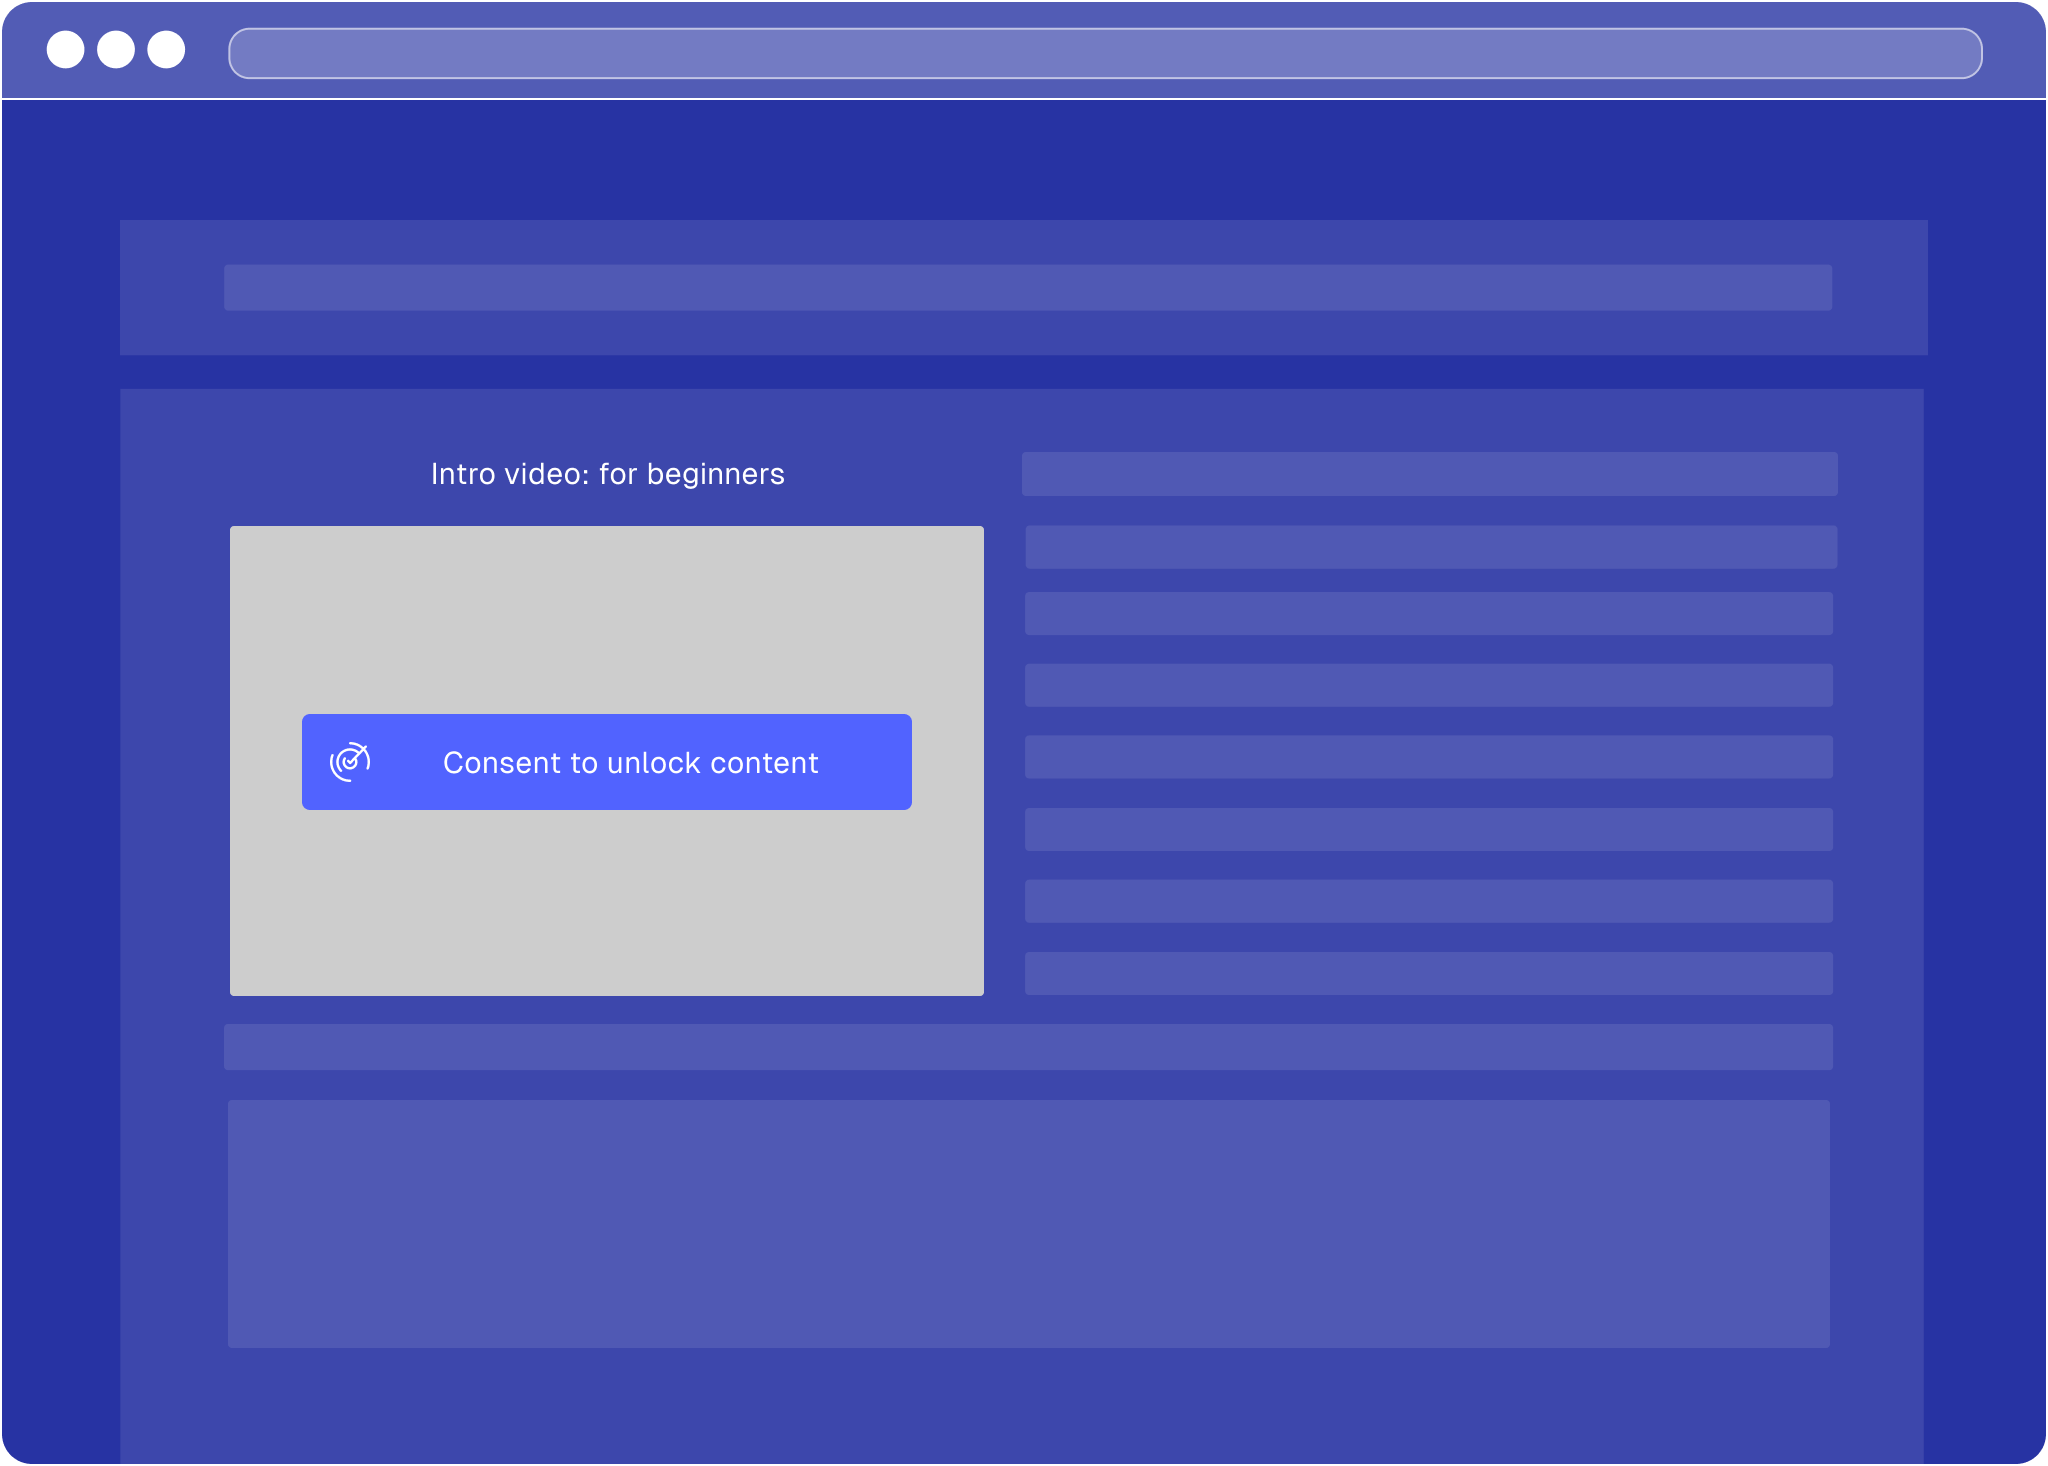
Contextual consent

Consent banner
Why contextual consent?
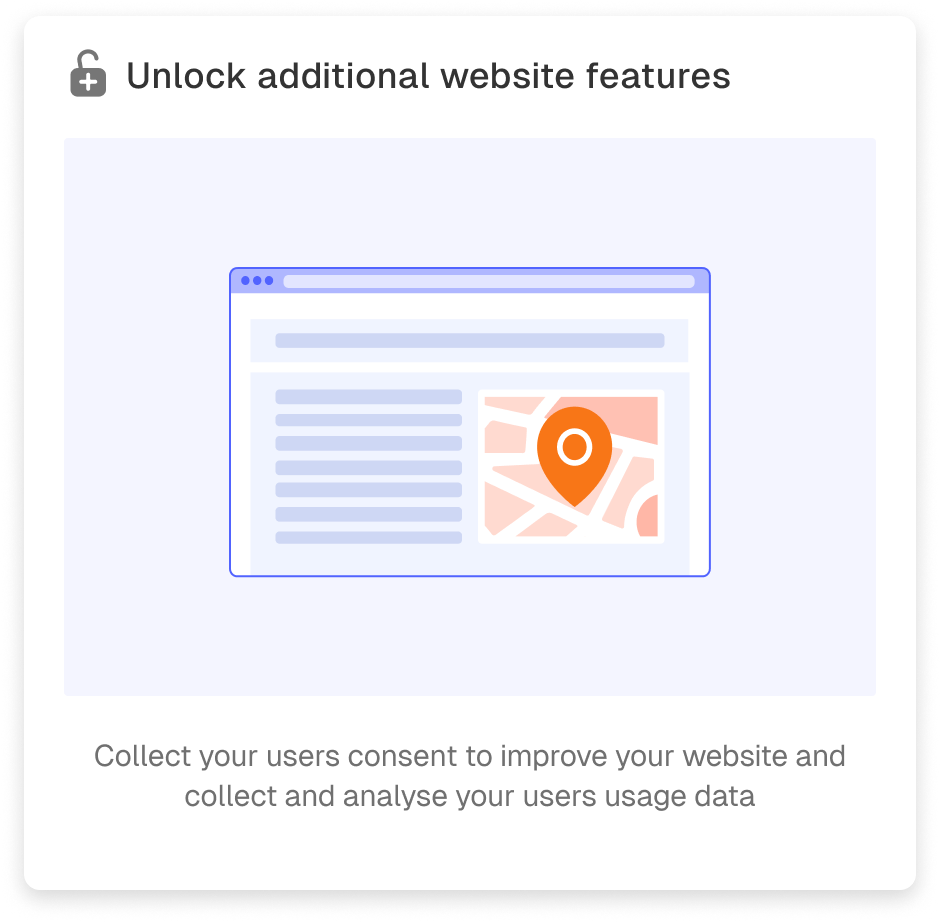
For some purposes, it is better to ask for your users’ consent when they want to engage with specific content of your website, instead of using a consent banner. This applies in particular to additional features that you integrate for a better user experience, such as maps, videos and social media content. The reason for this is that your users will better understand the significance of giving their consent if you ask for it directly in the context of using such a feature that requires consent.
How to implement contextual consent?
To implement contextual consent for any third-party provider (TPP), follow the steps below.
- Select the correct contextual consent type
- Copy-paste the respective code snippet
- Replace TPP-specific placeholders
Contextual consent types
Some third-party integrations process personal data solely to provide their service, while others also use data for their own additional purposes (e.g. advertising). This means you’ll need to collect different consents depending on the specific third-party provider you want to embed on your website.
Shown below are the three scenarios for embedding third party content and guidance on which type of contextual consent to implement (type 1 and type 2).
Technical integration
Contextual consent only works if your Consenter Banner is configured correctly in the Consenter Manager. Make sure the
purposes used by the third-party provider match the purposes enabled in your banner
. If the purposes do not match, contextual consent cannot be applied.
-
Add the contextual consent scripts
Place the contextual consent script at the top of the
<head>section:index.html <!-- Integrate Consenter contextual consent --> <!-- Paste the contextual consent script inside the <head> section --> <script src="https://banner.consenter.eu/contextual-consent.js"></script> <script src="https://banner.consenter.eu/{DOMAIN_ID}/cb.js" async></script> -
Add Consenter attributes to your embed
Remove the original
srcattribute, and add Consenter data attributes inside of the<iframe>where you want to enable contextual consent, and then replace the placeholders with your own values:-
For type 1 (simple unblock)
iframe <!-- Enable Consenter contextual consent for a service --> <iframe width="560" height="315" data-consenter-language="DE" data-consenter-tpp-id="YOUR_SERVICE_ID" data-consenter-tpp-label="YOUR-SERVICE-NAME" data-consenter-content-label="YOUR-CONTENT-DESCRIPTION" data-consenter-content-url="YOUR_SERVICE_URL" > ... </iframe> -
For type 2 (additional purposes)
Add the required purpose flags:
Caution: When using contextual consent, you can choose from the following additional purposes:
- Either improve the website
- Support marketing analytics
- Customise online ads
Find out which purposes to select for your TPP in our
TPP configuration guides
or the privacy policy and documentation of the respective TPP.
iframe with additional purposes <!-- Enable Consenter contextual consent for a service --> <iframe width="560" height="315" data-consenter-language="DE" data-consenter-tpp-id="YOUR_SERVICE_ID" data-consenter-tpp-label="YOUR-SERVICE-NAME" data-consenter-content-label="YOUR-CONTENT-DESCRIPTION" data-consenter-content-url="YOUR_SERVICE_URL" data-consenter-tpp-purpose-improve-the-service="true" data-consenter-tpp-purpose-marketing-analytics="true" data-consenter-tpp-purpose-customise-ads="true" > ... </iframe>
-
What each attribute does (quick reference)?
| Attribute | What it does | Where to find it? |
|---|---|---|
data-consenter-service-id | Tells Consenter which TPP this embed belongs to. | Always required. Find the service’s ID in Consenter Manager → Your Site → Active Banner → Hover over the service and click the copy button in the tooltip. |
data-consenter-service-label | Display name shown to the user (e.g., “YouTube video”). | Required. Use something users immediately understand. |
data-consenter-content-url | The URL that loads after the user unblocks / consents. | Required. Usually the iframe/embed source. |
data-consenter-content-label | Short description of the specific content (e.g., “Product Demo”). | Required. Helps users understand what they are enabling. |
data-consenter-language | Sets the language of the contextual consent UI. | Optional. If missing, browser language is used automatically. |
data-consenter-tpp-purpose-improve-the-service | Declares that the service uses data for Improve the website. | Required only if the TPP needs this purpose legally. Set to true. |
data-consenter-tpp-purpose-marketing-analytics | Declares that the service uses data for Support marketing analytics. | Required only if the TPP needs this purpose legally. Set to true. |
data-consenter-tpp-purpose-customise-ads | Declares that the service uses data for Customised online ads. | Required only if the TPP needs this purpose legally. Set to true. |
If unsure whether your TPP requires contextual consent of type 1 or type 2, check out our
TPP configuration guides
or refer to the privacy policy or documentation of the TPP.
How is this guide?
Last updated on